
Choosing the right flooring for your family room is one of the most important home improvement decisions you will make. This space sees daily foot traffic, spills, pet activity, and furniture movement. The ideal floor must balance durability, comfort, style, and budget. This guide walks you through every step to help you select, install, and maintain flooring that works for your household.
Whether you are renovating an existing family room or finishing a new build, understanding your options makes the process less overwhelming. The right flooring improves your home’s value, reduces maintenance stress, and creates a welcoming gathering space for years to come.
Step 1: Assess How Your Family Uses the Room
Begin by listing every activity that happens in your family room. Do children play on the floor? Do pets spend time there? Does anyone in your household have mobility challenges or allergies? Write down typical weekday and weekend routines.
Consider traffic patterns. High-traffic areas near doorways and hallways wear faster than corners and zones behind furniture. If you host gatherings regularly, plan for heavier wear. Families with toddlers need flooring that resists scratches from toys and is easy to clean after spills.
Caution: Do not skip this assessment step. Choosing flooring based only on appearance leads to costly replacements when the material cannot handle your household’s real demands.
Step 2: Understand Your Flooring Material Options
Six main flooring types suit family rooms. Each has clear advantages and limitations.
Hardwood: Solid or engineered wood offers timeless beauty and increases home resale value. Hardwood scratches more easily than other materials, so choose harder species like oak or maple. Engineered wood resists moisture better than solid planks. Expect to refinish hardwood every ten to fifteen years depending on use.
Luxury Vinyl Plank (LVP): Vinyl mimics wood or stone at a lower price point. LVP is 100% waterproof, resists scratches, and installs quickly with click-lock systems. Quality varies widely, so select products with thick wear layers (20 mil or more). Budget vinyl can dent under heavy furniture.
Laminate: Laminate costs less than hardwood but looks similar from a distance. It resists fading and scratches better than real wood. However, laminate cannot be refinished, and water damage is permanent. Use laminate only in rooms without moisture risk.
Tile: Ceramic or porcelain tile is nearly indestructible and handles spills without damage. Tile feels cold and hard underfoot, which some families dislike. Grout lines require regular cleaning. Large-format tiles reduce grout maintenance.
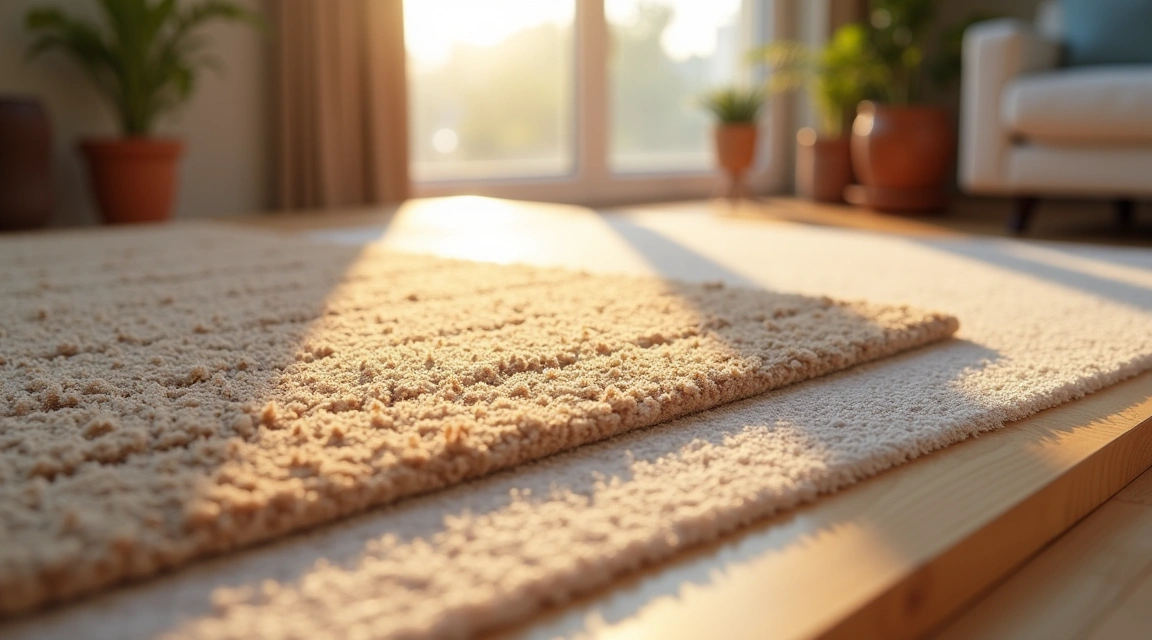
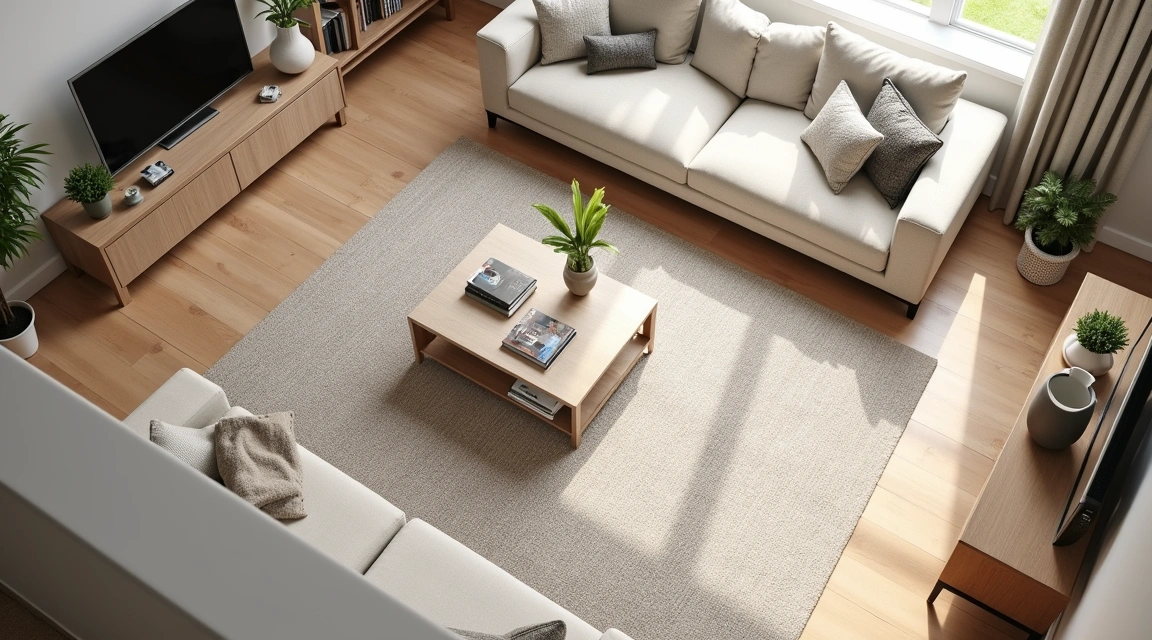
Carpet: Wall-to-wall carpet provides warmth and cushioning. It muffles sound better than hard surfaces. Carpet traps allergens and stains more easily than hard flooring. Choose stain-resistant nylon in medium tones to hide wear. Consider carpet tiles for easy replacement of damaged sections.
Cork or Bamboo: These eco-friendly options offer unique looks. Cork is soft underfoot and naturally antimicrobial. Bamboo is harder than most hardwoods. Both need sealing to resist moisture and may not be available at all flooring retailers.
For more guidance on selecting materials for different rooms, visit our Flooring Guides section.
Caution: Do not choose flooring based on a single showroom sample. Request large samples to view at home under your actual lighting conditions before purchasing.
Step 3: Measure Your Budget Realistically
Flooring costs include materials, underlayment, removal of old flooring, subfloor repairs, installation labor, trim, and finishing supplies. Create a spreadsheet with every expense category.
Material prices range widely. Budget vinyl costs $2-4 per square foot. Mid-range engineered hardwood runs $5-8 per square foot. Premium solid hardwood or specialty tile can exceed $12 per square foot. Installation labor typically adds $3-6 per square foot depending on your region and floor complexity.
Add 10% to your material order for cutting waste. Add another 10-15% contingency to your total budget for unexpected subfloor damage or layout adjustments. If your family room connects to adjacent spaces, plan whether to match existing flooring or create a clear transition.
Financing options include home equity lines, personal loans, or retailer payment plans. Compare interest rates carefully. Paying cash avoids interest but may delay your project if you need to save longer.
Caution: Do not commit to flooring that maxes out your budget. Leave room for unplanned repairs or upgrades to baseboards and transitions that improve the final appearance.
Step 4: Prepare Your Subfloor Properly
No flooring performs well over a damaged or uneven subfloor. Remove all old flooring and inspect the subfloor for squeaks, water stains, rot, or dips. Walk across the entire room listening for movement or soft spots.
Use a four-foot level to check for high and low areas. Most flooring requires flatness within 3/16 inch over ten feet. Grind down high spots with a floor sander. Fill low areas with self-leveling compound, following the product’s mixing and curing instructions exactly.
Replace any water-damaged plywood or OSB. Check that all subfloor fasteners are flush or slightly countersunk. Protruding nails or screws will create squeaks and bumps under your new floor.
Install appropriate underlayment for your flooring type. Foam underlayment works for laminate and floating floors. Hardwood may need rosin paper. Tile needs cement backer board over wood subfloors. Follow the flooring manufacturer’s underlayment requirements to protect your warranty.
Caution: Do not install flooring over a subfloor you have not personally inspected. Hidden damage discovered mid-project doubles your timeline and budget.
Step 5: Acclimate Materials and Plan Your Layout
Most flooring materials expand and contract with temperature and humidity changes. Bring boxes into your home and open them. Let the flooring acclimate for 48-72 hours in the room where you will install it. Check the manufacturer’s acclimation instructions printed on the box.
During acclimation, plan your layout. Decide which direction planks or tiles will run. Flooring parallel to the longest wall makes narrow rooms look wider. Diagonal layouts create visual interest but increase waste.
Measure the room width and divide by the plank or tile width to see how many full rows you need. If the final row will be narrower than half a plank, adjust your starting point so the first and last rows are similar widths. Balanced layouts look more professional.
Mark a straight starting line using a chalk line. Do not assume walls are straight. Measure from your starting line to the wall at multiple points to confirm it is parallel.
Caution: Do not skip acclimation even if you are eager to finish. Flooring installed too soon can buckle or gap as it adjusts to your home’s environment.
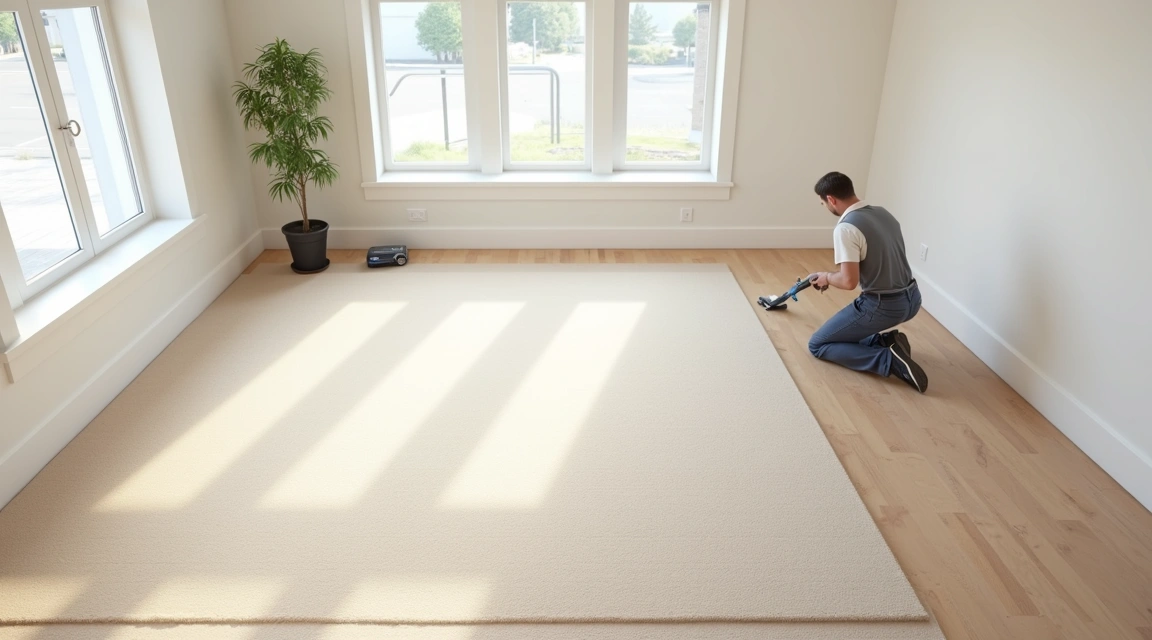
Step 6: Install Carefully or Hire Qualified Professionals
If you have basic tool skills and a helper, you can install floating floors like laminate or luxury vinyl plank yourself. Rent or buy a quality pull bar, tapping block, and miter saw. Follow the installation instructions step by step. Work slowly and double-check measurements before every cut.
Hardwood, tile, and sheet vinyl require specialized skills and tools. Improper installation voids warranties and creates safety hazards. Get at least three written quotes from licensed installers. Ask for references and photos of recent family room projects. Verify insurance coverage.
During installation, keep children and pets out of the room. Ensure good ventilation if adhesives or finishes produce fumes. Do not walk on newly installed flooring until the adhesive cures fully, usually 24-48 hours.
After installation, inspect every seam, edge, and transition. Test that no planks move or click when you walk across them. Install baseboards and quarter-round trim to cover expansion gaps and create a finished look.
Caution: Do not attempt advanced installations like herringbone patterns, multiple tile sizes, or glue-down hardwood without professional help. Mistakes in these installations are expensive to correct.
Common Mistakes and How to Avoid Them
Many homeowners regret flooring choices made under time pressure or without full information. Here are the most frequent errors:
Choosing style over durability: A beautiful floor that scratches in six months creates frustration. Always prioritize performance characteristics for family rooms, then select the most attractive option within durable categories.
Ignoring moisture issues: Installing wood or laminate in a room with foundation leaks or poor ventilation guarantees failure. Fix moisture problems completely before any flooring project. Use a moisture meter on concrete slabs to confirm dryness.
Underestimating installation time: Even straightforward projects take longer than planned. Assume a family room installation will take at least twice as long as online estimates suggest if you are a beginner. Schedule the work when you can manage disruption.
Skipping transitions: Abrupt edges where flooring meets carpet, tile, or other rooms look unfinished and create tripping hazards. Purchase matching transition strips and install them properly. T-molding, reducers, and thresholds cost extra but are not optional.
Forgetting furniture protection: Moving heavy furniture across new floors without protection causes immediate damage. Use furniture sliders or old blankets under every leg. Lift, do not drag, whenever possible.
Neglecting maintenance plans: Every flooring type needs specific cleaning products and routines. Read care instructions before installation. Keep recommended cleaners and tools on hand from day one. Preventive maintenance extends floor life dramatically.
Maintaining Your Family Room Floor for Long-Term Beauty
Proper maintenance starts the day you finish installation. Place doormats at every entrance to trap dirt and moisture. Dirt particles act like sandpaper under foot traffic, wearing finish layers faster. Shake out or vacuum mats weekly.
Sweep or vacuum daily in high-traffic areas. Use a soft-bristle broom or a vacuum with a hard-floor setting. Avoid vacuums with beater bars on hardwood, as they can scratch. For weekly cleaning, damp-mop with a product designed for your specific flooring type. Never use oil-based or wax cleaners on polyurethane-finished wood, and avoid steam mops on laminate or engineered wood.
Address spills immediately. Blot, do not wipe, to prevent spreading. Use clean, slightly damp cloths for water-based spills. For sticky or oily messes, use a small amount of appropriate cleaner on a cloth, then wipe with a clean damp cloth to remove residue.
Trim pet nails regularly to prevent scratches. Apply felt pads under all furniture legs and replace them twice a year as adhesive weakens. Rearrange furniture occasionally to even out wear patterns and sun exposure.
Inspect your floor quarterly for new scratches, loose planks, or damaged grout. Small problems are inexpensive to fix; ignored damage spreads. Keep extra flooring planks or tiles from your installation for future repairs.
Plan professional maintenance based on your flooring type. Hardwood benefits from professional cleaning and recoating every three to five years. Deep carpet cleaning should happen annually in family rooms. Tile and grout sealing extends grout life.
Summary
Selecting flooring for your family room requires balancing real-world durability with your style preferences and budget. By carefully assessing how your household uses the space, understanding the pros and cons of each material, preparing your subfloor correctly, and maintaining the floor properly, you create a beautiful and functional room that serves your family well for many years.
Take time at each step. Measure carefully, ask questions, and do not rush decisions. The effort you invest in planning pays off in a floor you love and a smoother installation process. Your family room is the heart of your home; it deserves flooring that meets every demand you place on it.